Today, I want to share one of my darling cakes: the mud cake. I wanted to show you on video every step to successfully complete it. And above all, I wanted to share all the advantages that make this mud cake a perfect base for cake design.

To get the melting and sticky texture of the mud cake, you’ll need a decent amount of butter and a long baking at low temperature finished covered in aluminum foil. Don’t worry too much about the amount of butter, we’re still okay with 250g, and bare in mind that this cake can feed a crowd! It can be prepared the day before, and doen’t need to be stored in the fridge so it is really easy to transport.

Ce que j’adore avec le Mud Cake, c’est que c’est une base idéale pour le cake design:
- It is to be kept at room temperature, so it’s great news if you want to cover it sugar paste.
- The cake is naturally high (at least 8cm if baked in a 20cm tin) so no need to cut it in two or three to garnish it. Perfect if you are a beginner!
- Since it is just one cake, the sides a perfectly straigt, ready to be covered with sugar paste.
- It is delicious and will be loved by everyone.
- It is to be eaten in thin slices so it can easily feed a football team.
- You can carry it easily.
- It goes very well with a chocolate ganache like the one from my chocolate cake and ganache recipe before applying sugar paste.
So now I hope you’re convinced, not only the mud cake is super practical but it is jus a killer cake!
Prep time: 25mn + 10mn for the icing
Cook time: 1h40
Rest time: 12h at room temperature
For a 20cm round tin / Serves 10 to 15 (le gâteau se coupe en fines parts)
- 180ml hot water
- 1 tablespoon of instant coffee powder
- 250g butter
- 400g dark brown sugar
- 150g caster sugar
- 250g min. 50% minimum dark chocolate, cut into small pieces
- 300g flour
- 5g baking powder
- ½ teaspoon of bicarbonate of soda
- 50g unsweetened cocoa powder
- 1 pinch of sea salt
- 200g beaten eggs (about 4 medium)
- 30ml neutral vegetable (about two tablespoons)
- 130ml whole milk
- 300g min. 50% dark chocolate
- 120g butter
- 300g white chocolate
- 8cm wide rhodoïd sheet
- Preheat oven to 135°C. Line a round 20cm tin with a circle parchment at the bottom and a 10cm high strip for the side.
- Dilute the instant coffee in the hot water in a big saucepan. Add the butter cut into pieces, the 2 types of sugar and the chocolate. Heat gently until the ingredients are melted and well combined. Do not bring to a boil, the ingredients should melt but not cook. Allow to cool to room temperature.
- In the bowl of a stand mixer, mix together the flour, cocoa powder, baking soda, baking powder and salt. In another bowl, mix together the eggs, oil and milk with a spoon to avoid incorporating air. Pour over the flour mixture and mix for a few seconds.
- Add a quarter of the melted chocolate mixat room temperature. Mix thoroughly until the mixture is smooth and smooth. Add half more of the remaining mixture and mix. Once smooth, add all the end of the mixture to the chocolate and mix again. The dough should be smooth and relatively liquid.
- Pour the dough into the lined tin and place in the low part of the oven for 1h40. After 1h40, turn off the oven, open the door and leave the cake in the oven for 10mn.
- Once out of the oven, pack the cake in its tin in aluminum foil (be careful not to burn yourself during this step[/ i]) and let set overnight at room temperature ([i]do not put it in the refrigerator!).
- The next day, carefully remove the cake from the tin. Melt the chocolate and butter over a hot bath or in the microwave. Mix with a spatula until a smooth and shiny. Pour the icing on the top of the cake, let it go on the side and smooth the whole cake with the spatula. Leave for 2 hours at room temperature before decorating.
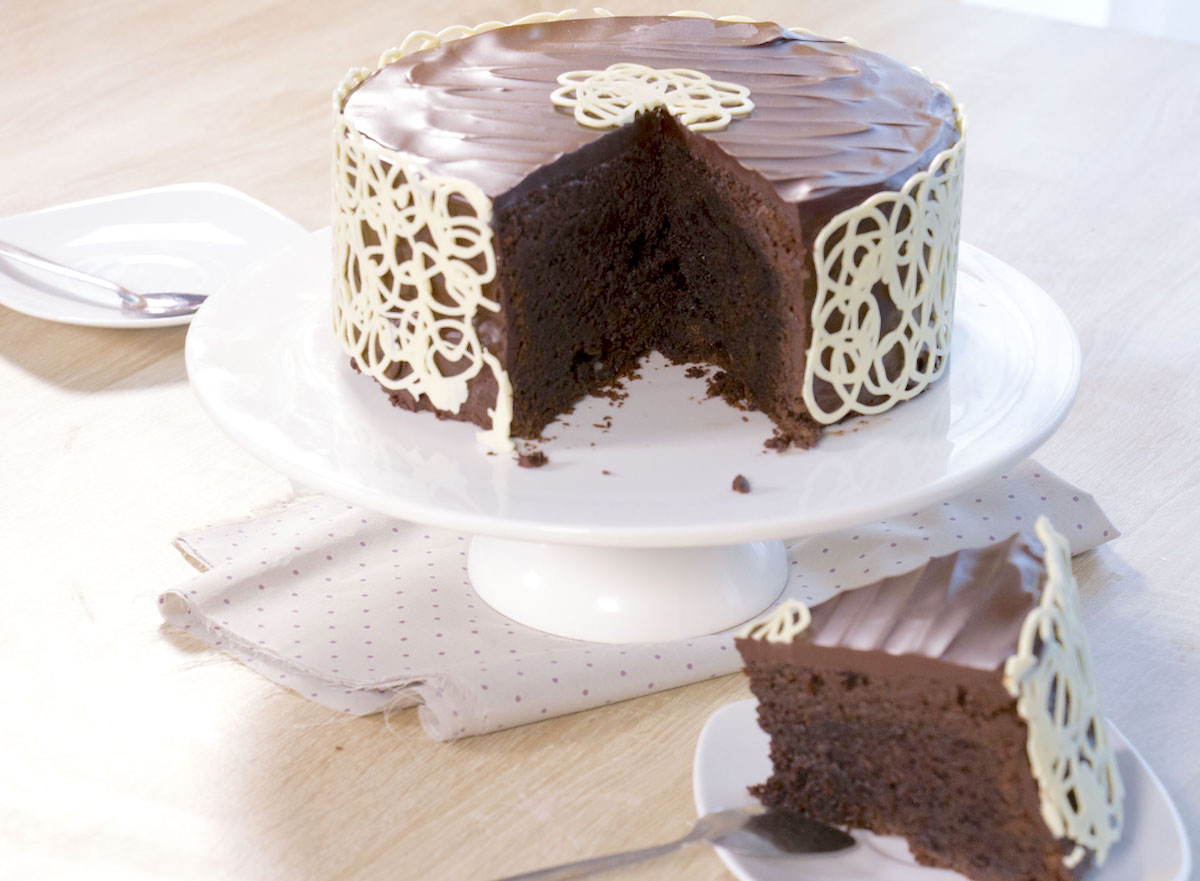
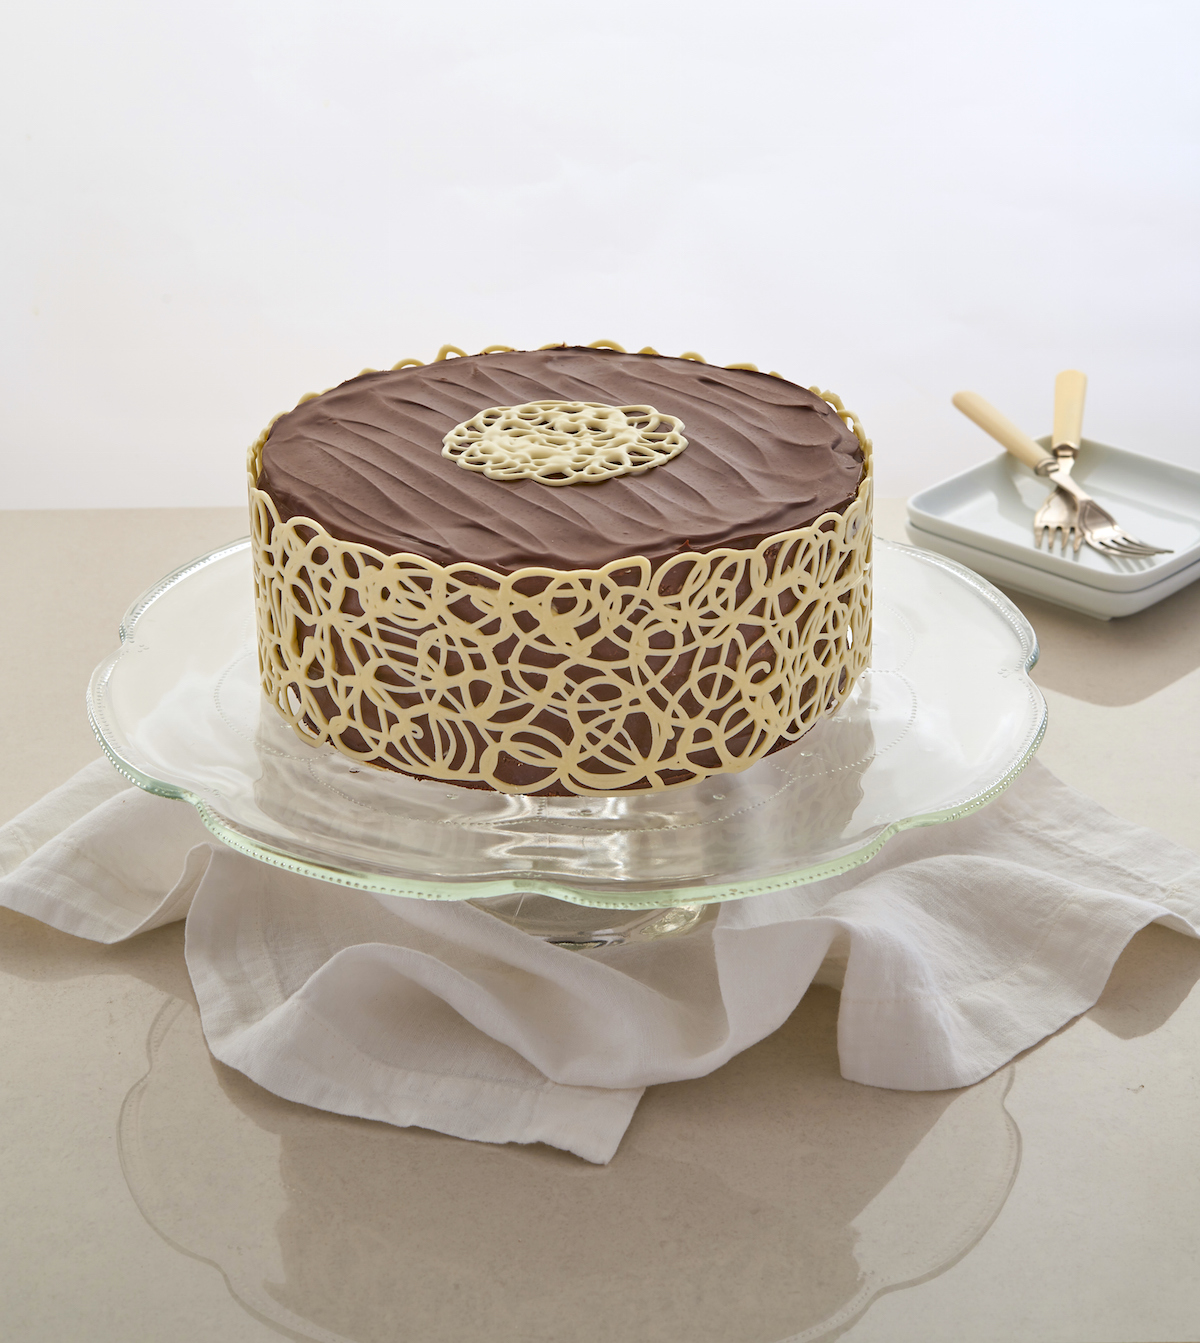
- Decorate the lace cake:
- Cut out a 8cm high rhodoid strip to the exact length of the cake diameter. It is very important to measure well because your decoration should not be longer than the diameter of the cake so that the two pieces of lace comes edge-to-edge and do not overlap.
- Melt the white chocolate. Transfer to a pipping bag with a small round tip. Draw chocolate curls that intertwine along the strip to form a lace. (Be careful not to go outside of the strip!!). Let cool for a few minutes.
- When you see that the chocolate is no longer shiny but still a bit soft, gently tape the lace all around the cake.
- Let set 20 minutes at room temperature before gently removing the rhodoid strip. You can also draw a lace design to place in the center of the cake.
© Photo: Clive Bozzard-Hill for Baked and Decorated by Eaglemoss / Stylisme: Anne-Sophie Fashion Cooking


Leave a Reply